
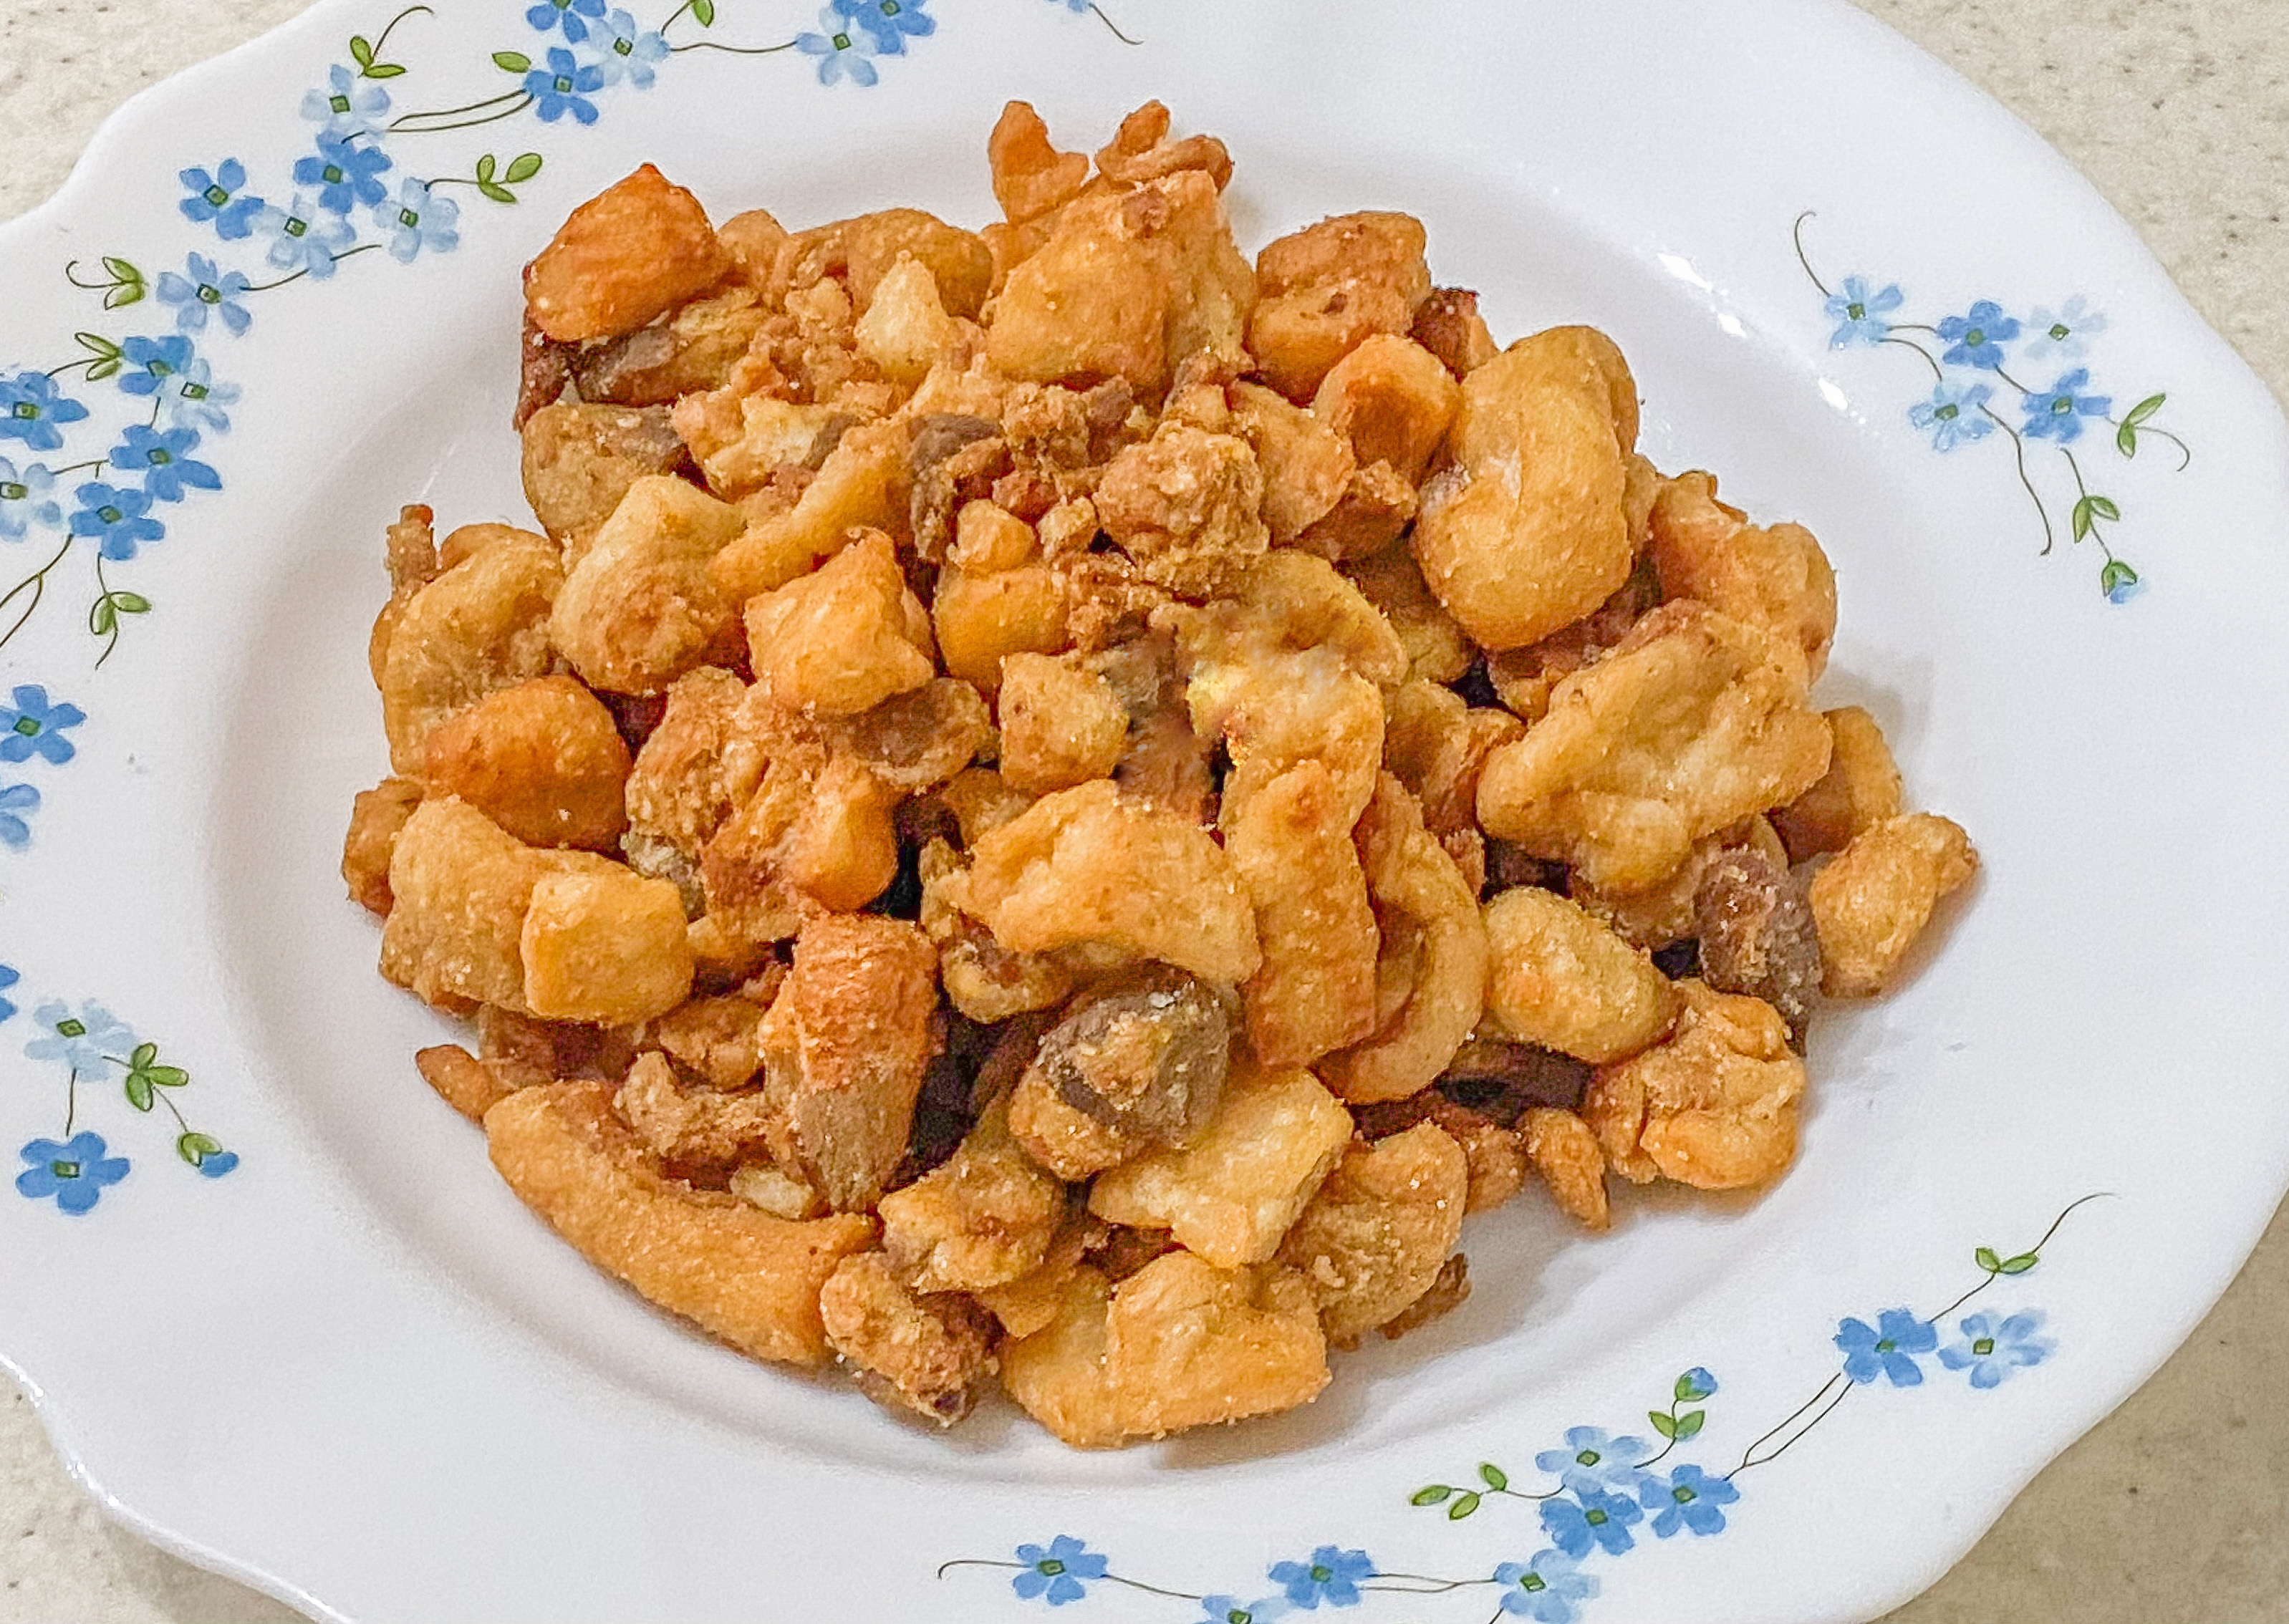
Every recipe on this site can be replaced by a better photo — yours. The community votes, and the top photo becomes the recipe hero. The shots throughout this guide are real examples: Serbian dishes, shot with a phone, using the technique below.
1. The Golden Window — When to Shoot
Open your weather app. Find today's sunset time. Set a reminder for 45 minutes before that. That's your window — the light is warm, directional, and forgiving. It turns ordinary dishes into something that looks like a cookbook.
Outside that window, light goes flat. Indoor overheads create shadows. Noon sun is too harsh. The magic is in that 45-minute golden slot.
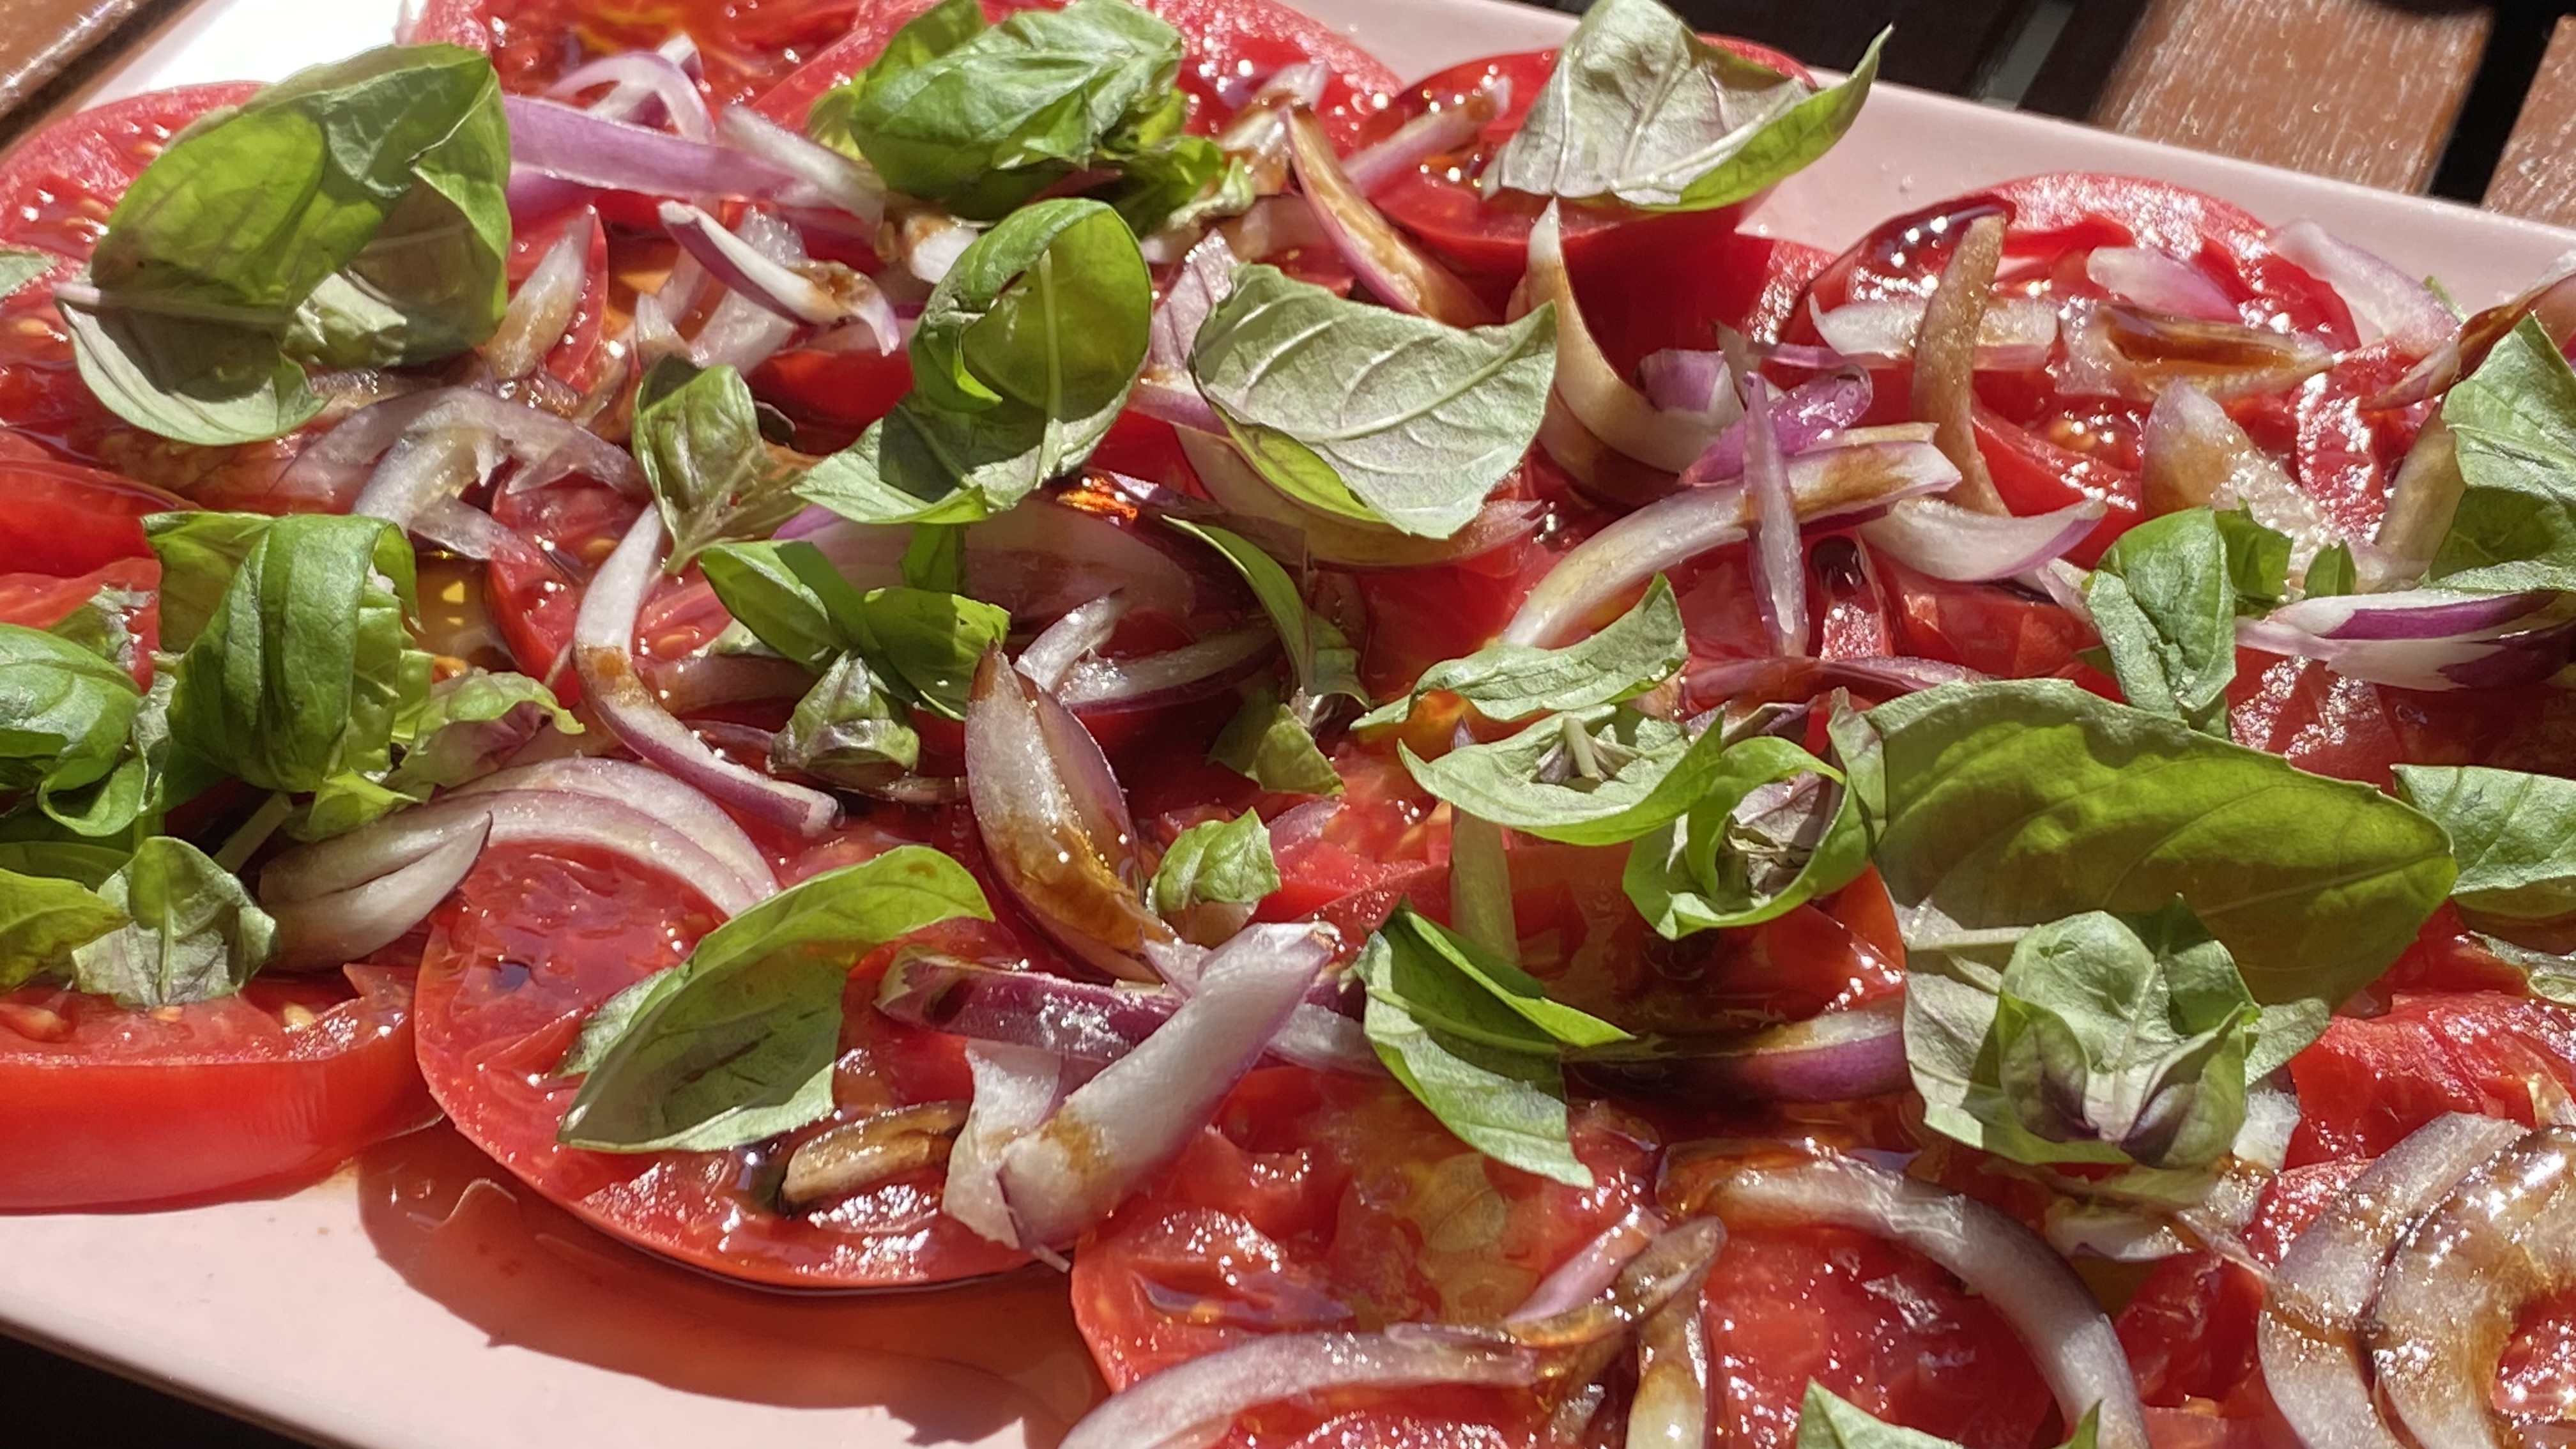
2. The Surface Is Part of the Shot
Your table, your porch, your windowsill — the surface texture is background. Wooden slats, a linen cloth, a stone countertop all add depth without competing with the food. Put the plate down, step back, and look at the whole frame before you tap.
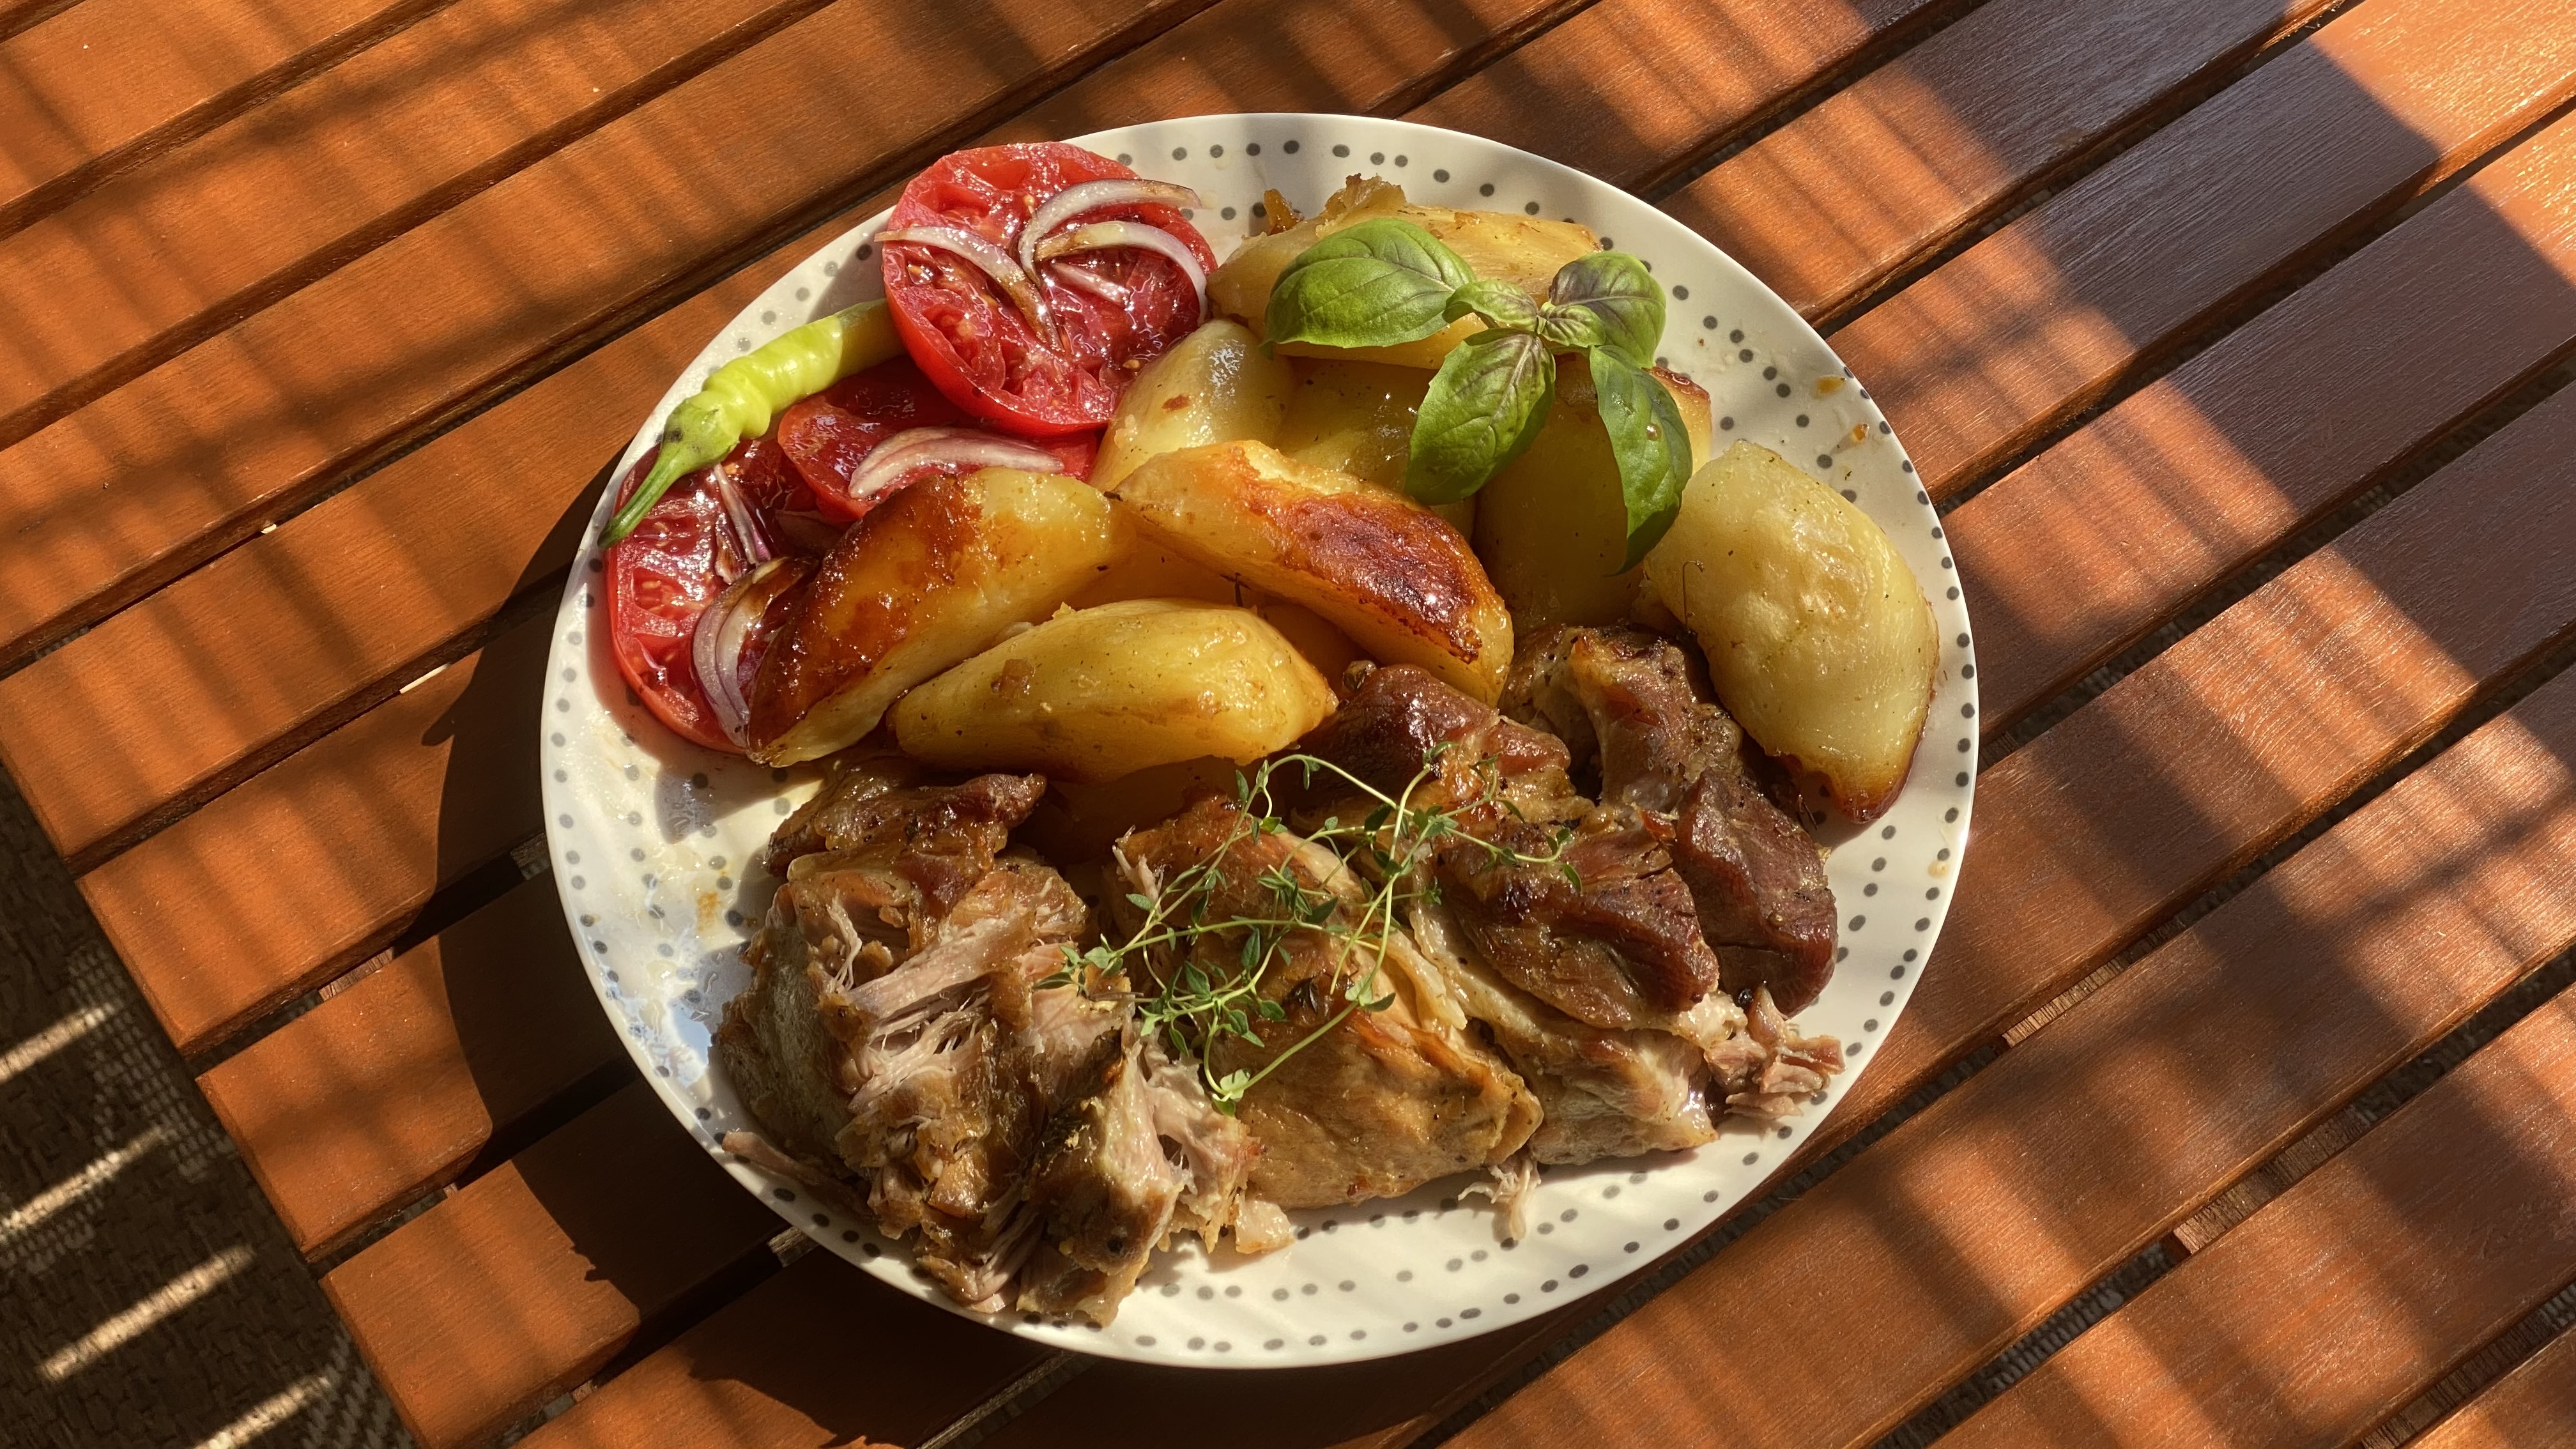
3. The Angle — Where to Hold Your Phone
Three angles work for food. Try all three before you decide:
- Straight overhead (the flat lay) — Phone parallel to the table, pointing straight down. Shows pattern, arrangement, and layers. Works especially well for salads, spreads, and anything with visual texture across the surface.
- 45° overhead (the workhorse) — Tilt the phone down at roughly 45°. Shows both the surface and a little background. Works for almost everything.
- Eye level (the atmosphere shot) — Phone at table edge, shooting across. Great for tall dishes, soups, or when you want to show the whole setting.
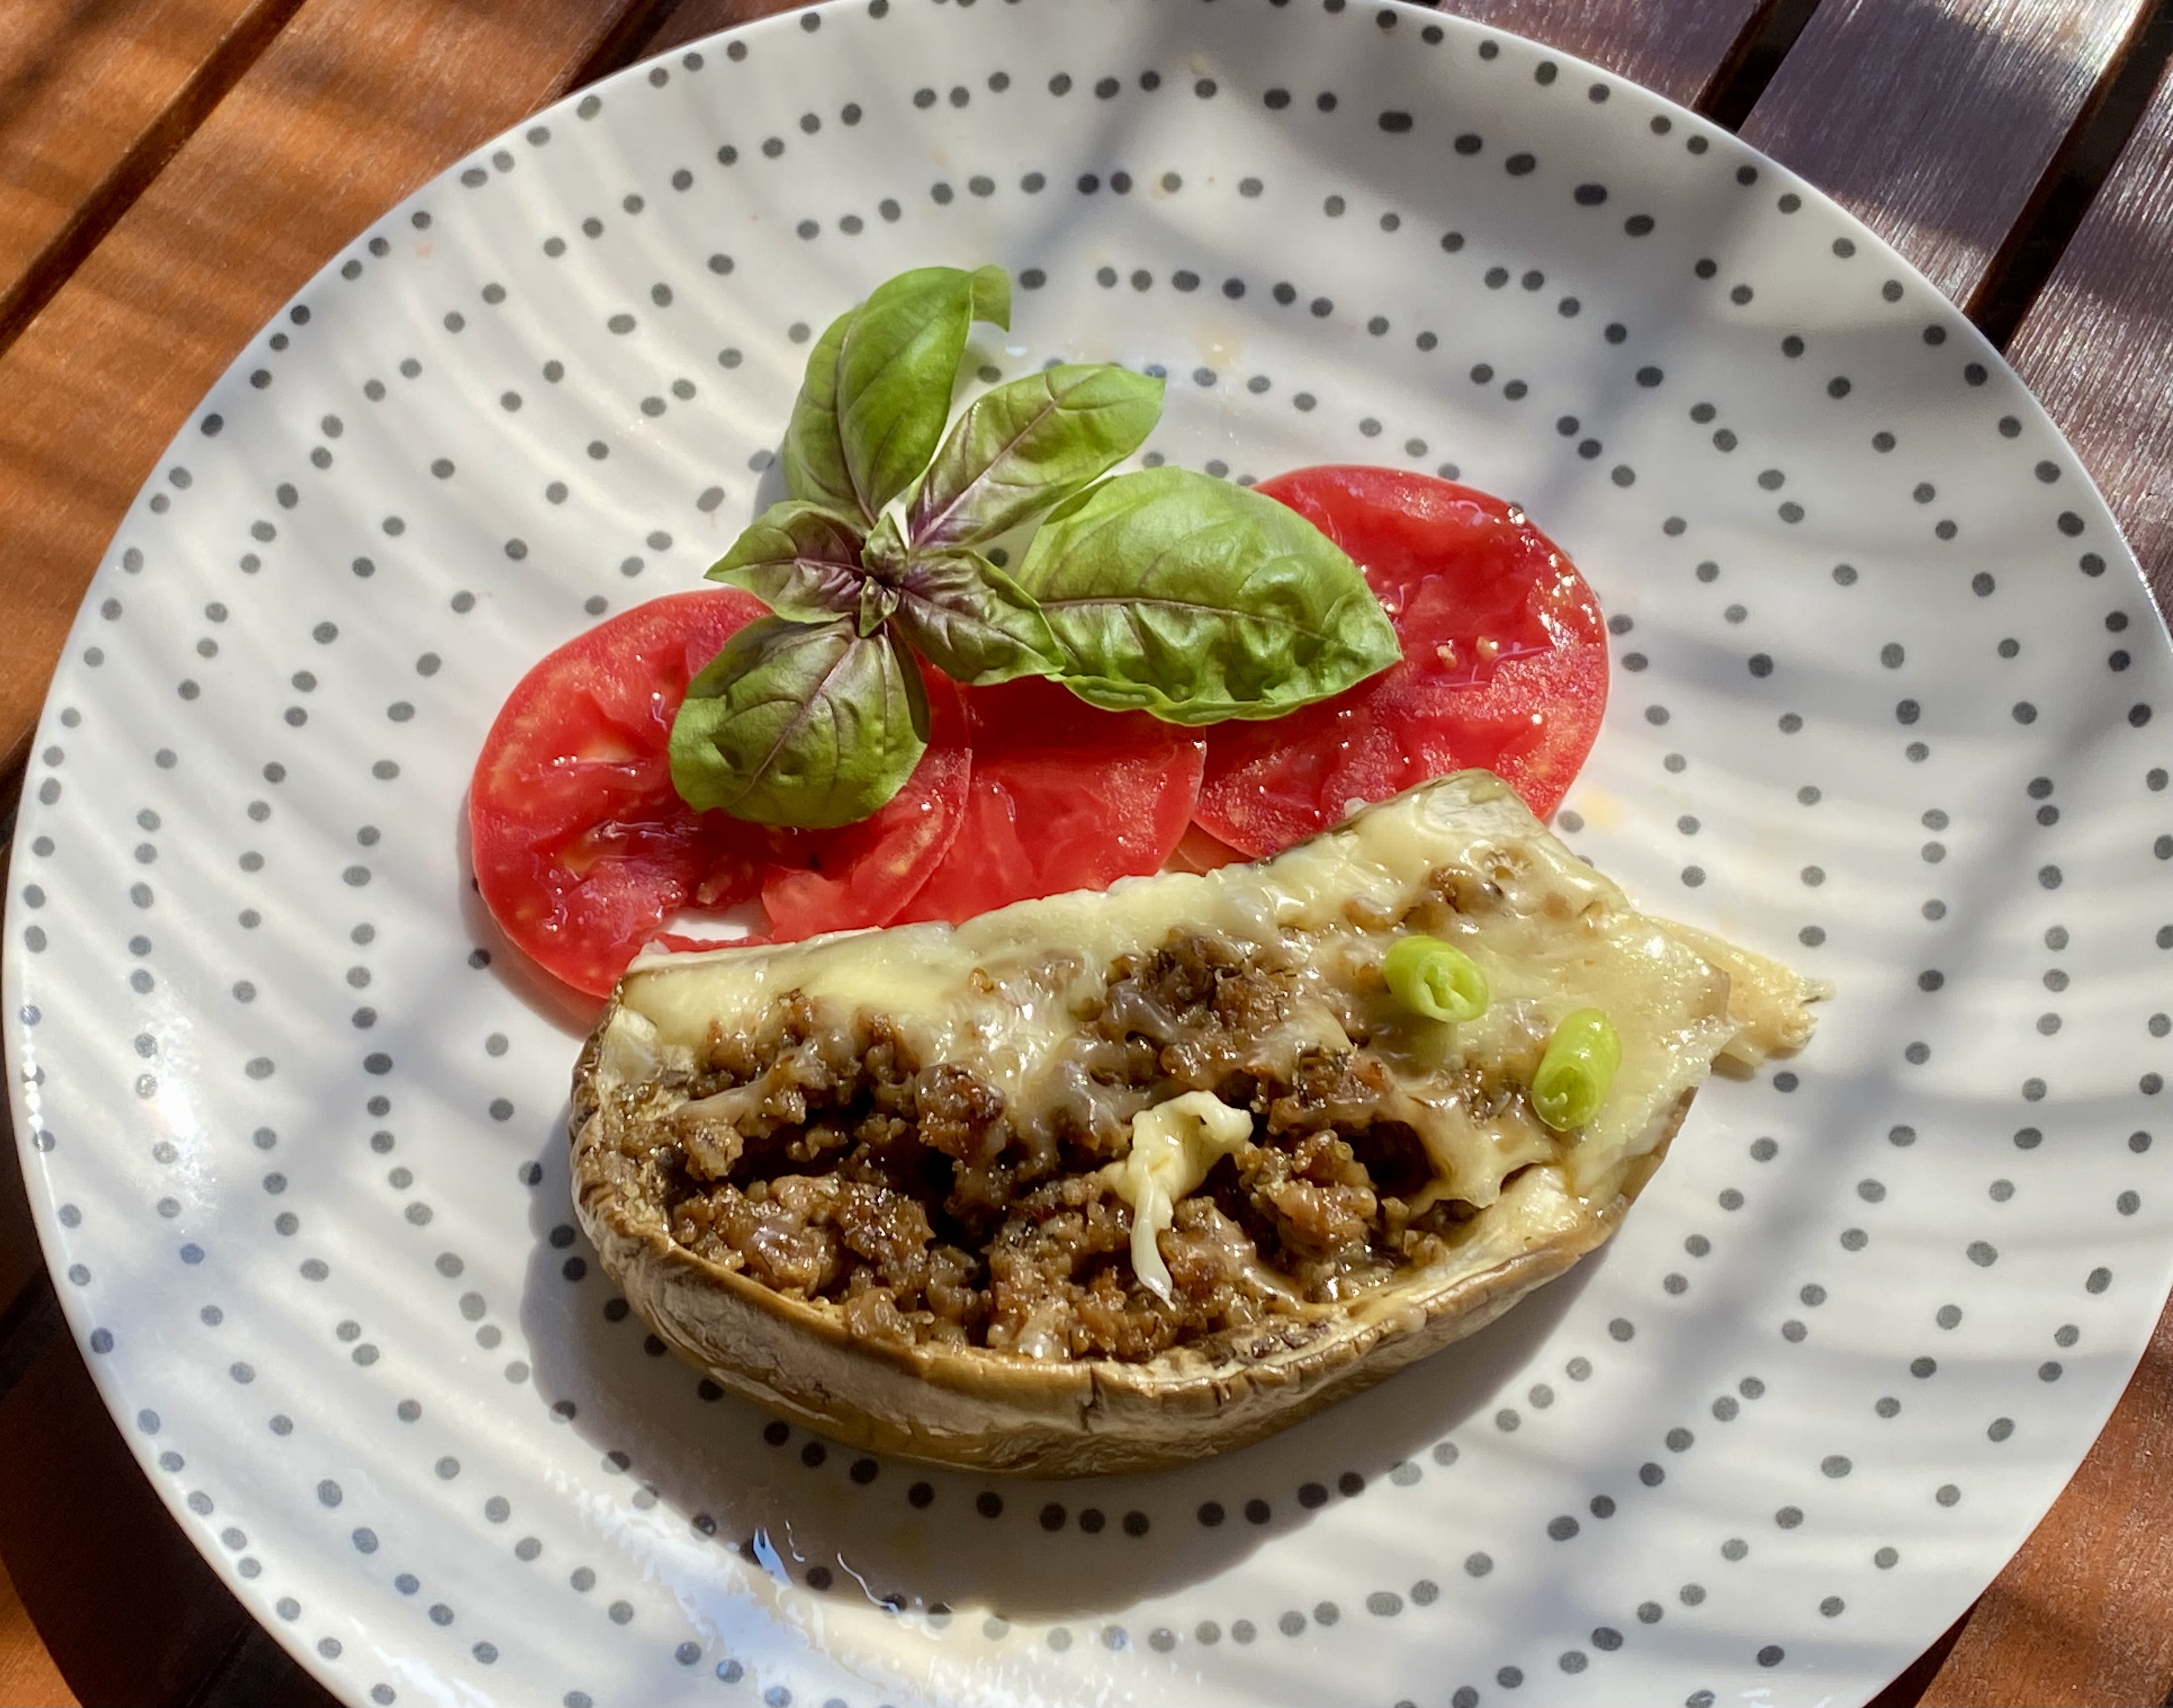
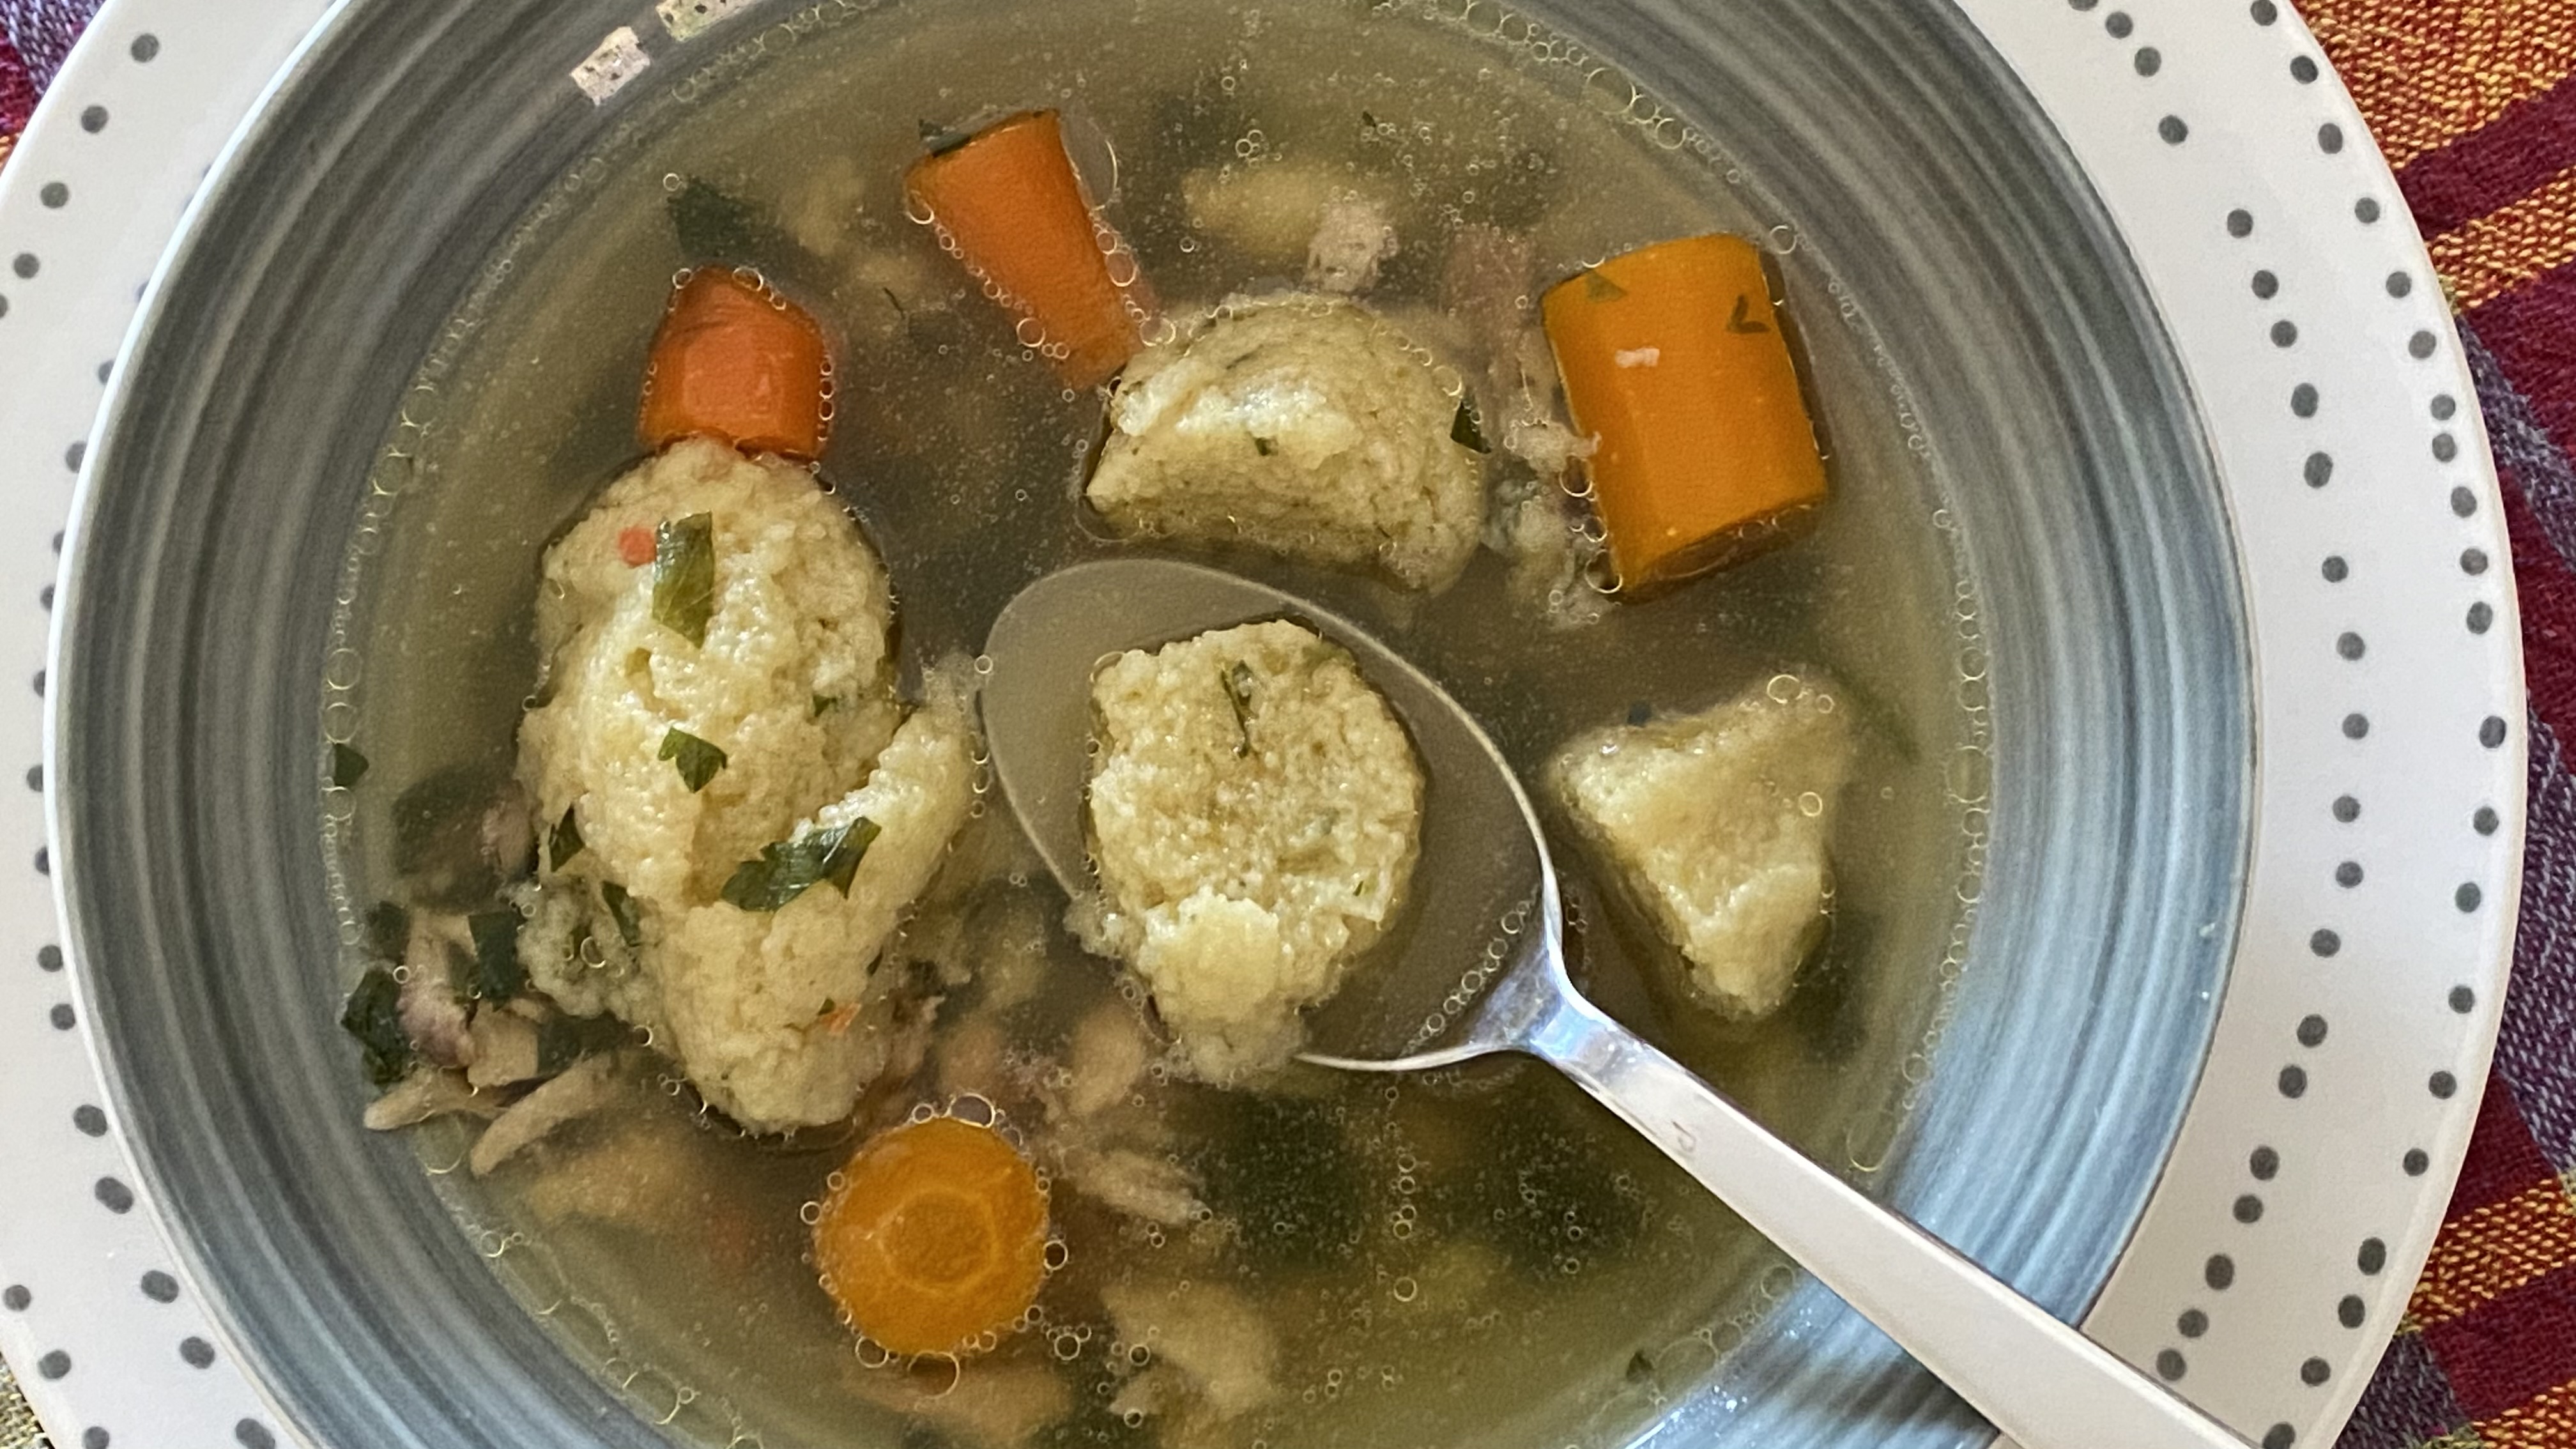
4. Garnish Right Before You Shoot
A sprig of fresh basil, a tomato slice, a pinch of flaked salt — add it just before you pick up the phone. Fresh herbs wilt quickly under warm light. The garnish is what tells the eye "this was made with care."
You don't need the garnish to be part of the recipe. You need it to add a pop of color and signal intention.
5. Phone Settings — Four Rules
- Tap the food to focus. Don't let the phone decide. Tap the most textured or most important element and lock there.
- No digital zoom. Move your body closer instead. Zoom degrades quality. A 2× optical lens is fine; digital zoom is not.
- No flash. Ever. Flash kills warm light instantly and flattens everything. If the light isn't enough without flash, move closer to the window or wait for golden hour.
- Portrait mode — sometimes. Works for a single plated dish when you want background blur. Turn it off for flat lays — it can blur food edges when the lens is directly above the plate.
6. Take Ten, Keep Two
Don't take one photo. Take ten in 60 seconds, then pick the best two.
- Set the dish. Add the garnish.
- Shoot three from your chosen angle.
- Shift 6 inches to the left. Shoot two more.
- Try one from eye level.
- Try one straight overhead.
- Review. Keep two, delete the rest.
The second or third shot is usually sharper than the first — your hands settle and the framing tightens naturally.
7. Upload and Let the Community Vote
Scroll to the bottom of any recipe page. The Reader Photos section lets you upload directly from your phone. The community votes, and the most-voted photo automatically becomes the hero image for that recipe — visible to everyone.
Your shot of your actual cook, in your actual kitchen, with your real dish, is more valuable to other cooks than any stock photo or AI-generated image.